Since Winter Storm Olympia continues to batter much of the Midwest and East Coast, a pot of my Winter Warm-up Chili seemed the perfect way to commiserate with those being hit with freezing ice and snow, even if I am doing it from the sunny climes of Florida.

I’ve been making chili for almost fifty years…and I’m sure my family would agree I’ve never made it the same way twice! Some ingredients do remain the same each time I simmer a pot of chili:
- Ground Beef
- Sugar (Yup…that’s right. Sugar. Sometimes brown, sometimes white…and sometimes BOTH!)
- Beans (usually several kinds)
- Onions
- Garlic
But after those basics my recipe tends to change from one batch to another. Sometimes I add tomato juice…or vegetable juice cocktail. And crushed tomatoes and/or diced ones. And tomato sauce or tomato paste. Or both.
And the other veggies I add are usually based on what I have in the refrigerator that day. Yes…my chili has VEGGIES! I like to sneak those veggies in whenever possible. (Don’t tell!) Always trying to eat that rainbow. (Even if I top it with some naughty ingredients like cheese and sour cream!)
This time I made sure to grab a pen and write down the ingredients I threw into the pot…and here it is…

Winter Warm-up Chili
2016-02-15 09:28:56
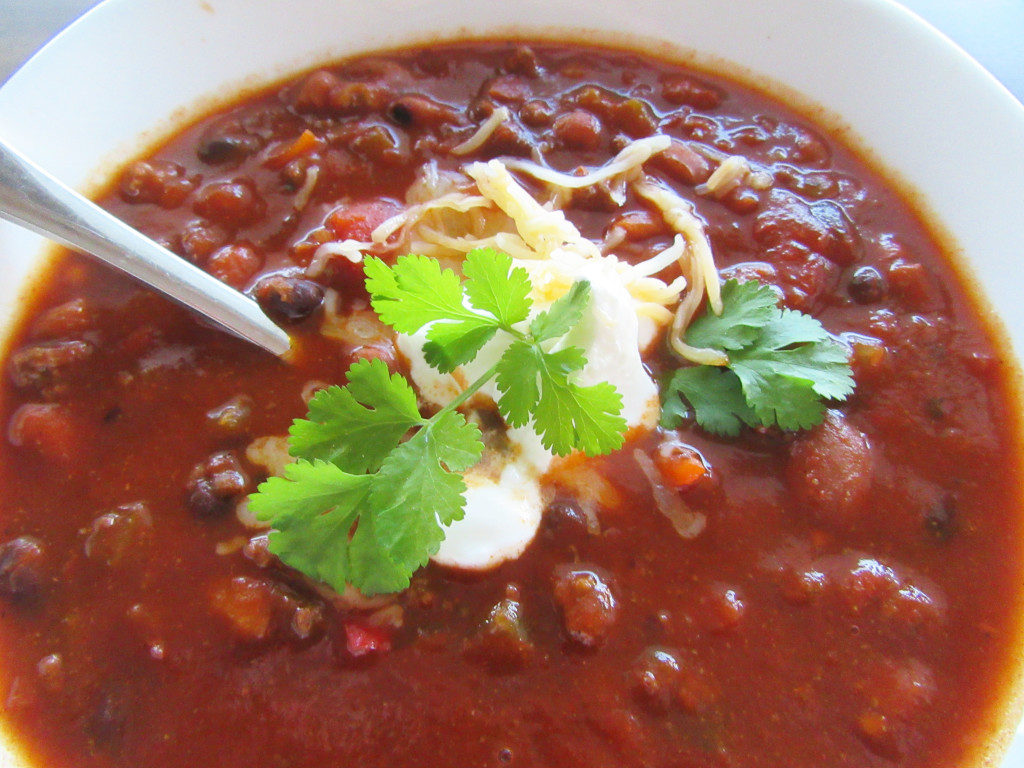
As snow and ice continue to batter much of the country, this Winter Warm-up Chili is the perfect antidote to those winter storms. Made with beef, beans, and veggies, it's sure to warm those cold bones!
Ingredients
- 1 1/2 to 2 lbs. ground beef, browned and drained
- 2 Tblsp. Extra Virgin Olive Oil
- 1 large onion, diced
- 3-4 cloves garlic, minced
- 4 stalks celery (with the leaves) diced
- green, red, orange, or yellow pepper, diced (Equivalent of one large pepper)
- 1 6 oz. can tomato paste
- 1 28 oz. can crushed or diced tomatoes
- 1 16 oz. can tomato sauce
- 2 16 oz. can chili beans in mild sauce
- 2 cans full of water (Just fill both chili bean cans and dump it in!)
- 1 16 oz. can black beans, rinsed and drained (ALWAYS rinse black beans,..that liquid “goop” in the can is not tasty!)
- 1 heaping Tblsp white sugar (to taste)
- 2 heaping Tblsp brown sugar (to taste)
- 1 Tblsp cumin (or to taste)
- 1 Tblsp chili powder (or to taste)
- Salt and Pepper (to taste)
Instructions
- In a heavy bottomed Dutch oven or pot, brown the ground beef and drain. Remove from the pot.
- Throw in all the vegetables with the olive oil and stir until the veggies begin to soften.
- Make a “well” in the veggies and add the cumin and chili powder to the bottom of the pan and then stir into the veggies. (This step allows the dried spices to open up and “bloom” to increase the flavor into the mixture.
- Continue to stir for several minutes, then make another “well” and press the tomato paste to the bottom of the pan and leave it there for a minute...then stir it again. (This step removes the “canned” taste from the tomato paste and wakes up the tomato flavor.)
- Don’t burn it, but if the tomato paste begins to turn slightly brown that’s OK! And if it sticks to the pan a little...that’s fine too! That sticky bit on the bottom of the pan has TONS of flavor and it will release from the pan as soon as you add the water and tomatoes and scrape it up.
- Add the cooked meat back into the pot and stir well.
- Add the two cans of chili beans and fill each can with water. Dump that liquid into the pot. (No sense wasting all that good sauce left in each can.)
- Rinse and drain the black beans and add them to the pot.
- Add the white and the brown sugar and stir well.
- Now you can add more water if you want thinner chili...and taste to see if the level of spice is right for you.
- Don’t be afraid to add more spices, sugar, salt or pepper.
- Cover and let it simmer for at least 30 minutes to blend the flavors. Add more liquid if needed during cooking.
Meemaw Eats https://www.meemaweats.com/

I am loving your blog and already printed the Amish Church cookies! It seems to be working great!
Thanks so much! Enjoy!
Thanks!
XOXO
Meemaw